
If you’ve ever wondered how to build chain link fence like a pro, you’re in the right place! This article unveils expert tips revealed that will transform you from a DIY amateur into a fencing master. Whether you’re securing your backyard, creating a safe play area, or adding a stylish boundary, learning the step-by-step chain link fence installation process is a game-changer. Don’t let the idea of installing a fence intimidate you— with the right guidance, tools, and insider secrets, you can achieve professional results that last for years.
Building a chain link fence might seem straightforward, but there’s more to it than just unrolling the wire and hammering posts. Are you curious about which materials to choose? Or how to ensure your fence is sturdy, level, and looks clean? This guide covers everything from preparing the ground and setting fence posts to attaching the mesh like a seasoned contractor. Plus, you’ll discover the best tools for chain link fence installation, saving you time and frustration. Ready to boost your curb appeal and security? Let’s dive in and unlock the secrets to fencing success!
Want to save money and avoid costly mistakes? Follow these pro fencing techniques and you’ll build a durable, weather-resistant chain link fence that stands the test of time. Whether you’re tackling your first project or looking to sharpen your skills, these tips will make your fence installation faster, easier, and way more satisfying. So grab your gloves, and let’s get building — your perfect fence awaits!
Step-by-Step Guide: How to Build a Durable Chain Link Fence for Your Property
Building a chain link fence might seem like a simple task, but getting it done right takes more than just hammer and wire. If you’re living in New York or anywhere else, and want to secure your property with a durable chain link fence, this guide will walk you through the step-by-step process, share expert tips, and help you build it like a pro. So, grab your tools and let’s get started!
Why Choose Chain Link Fence?
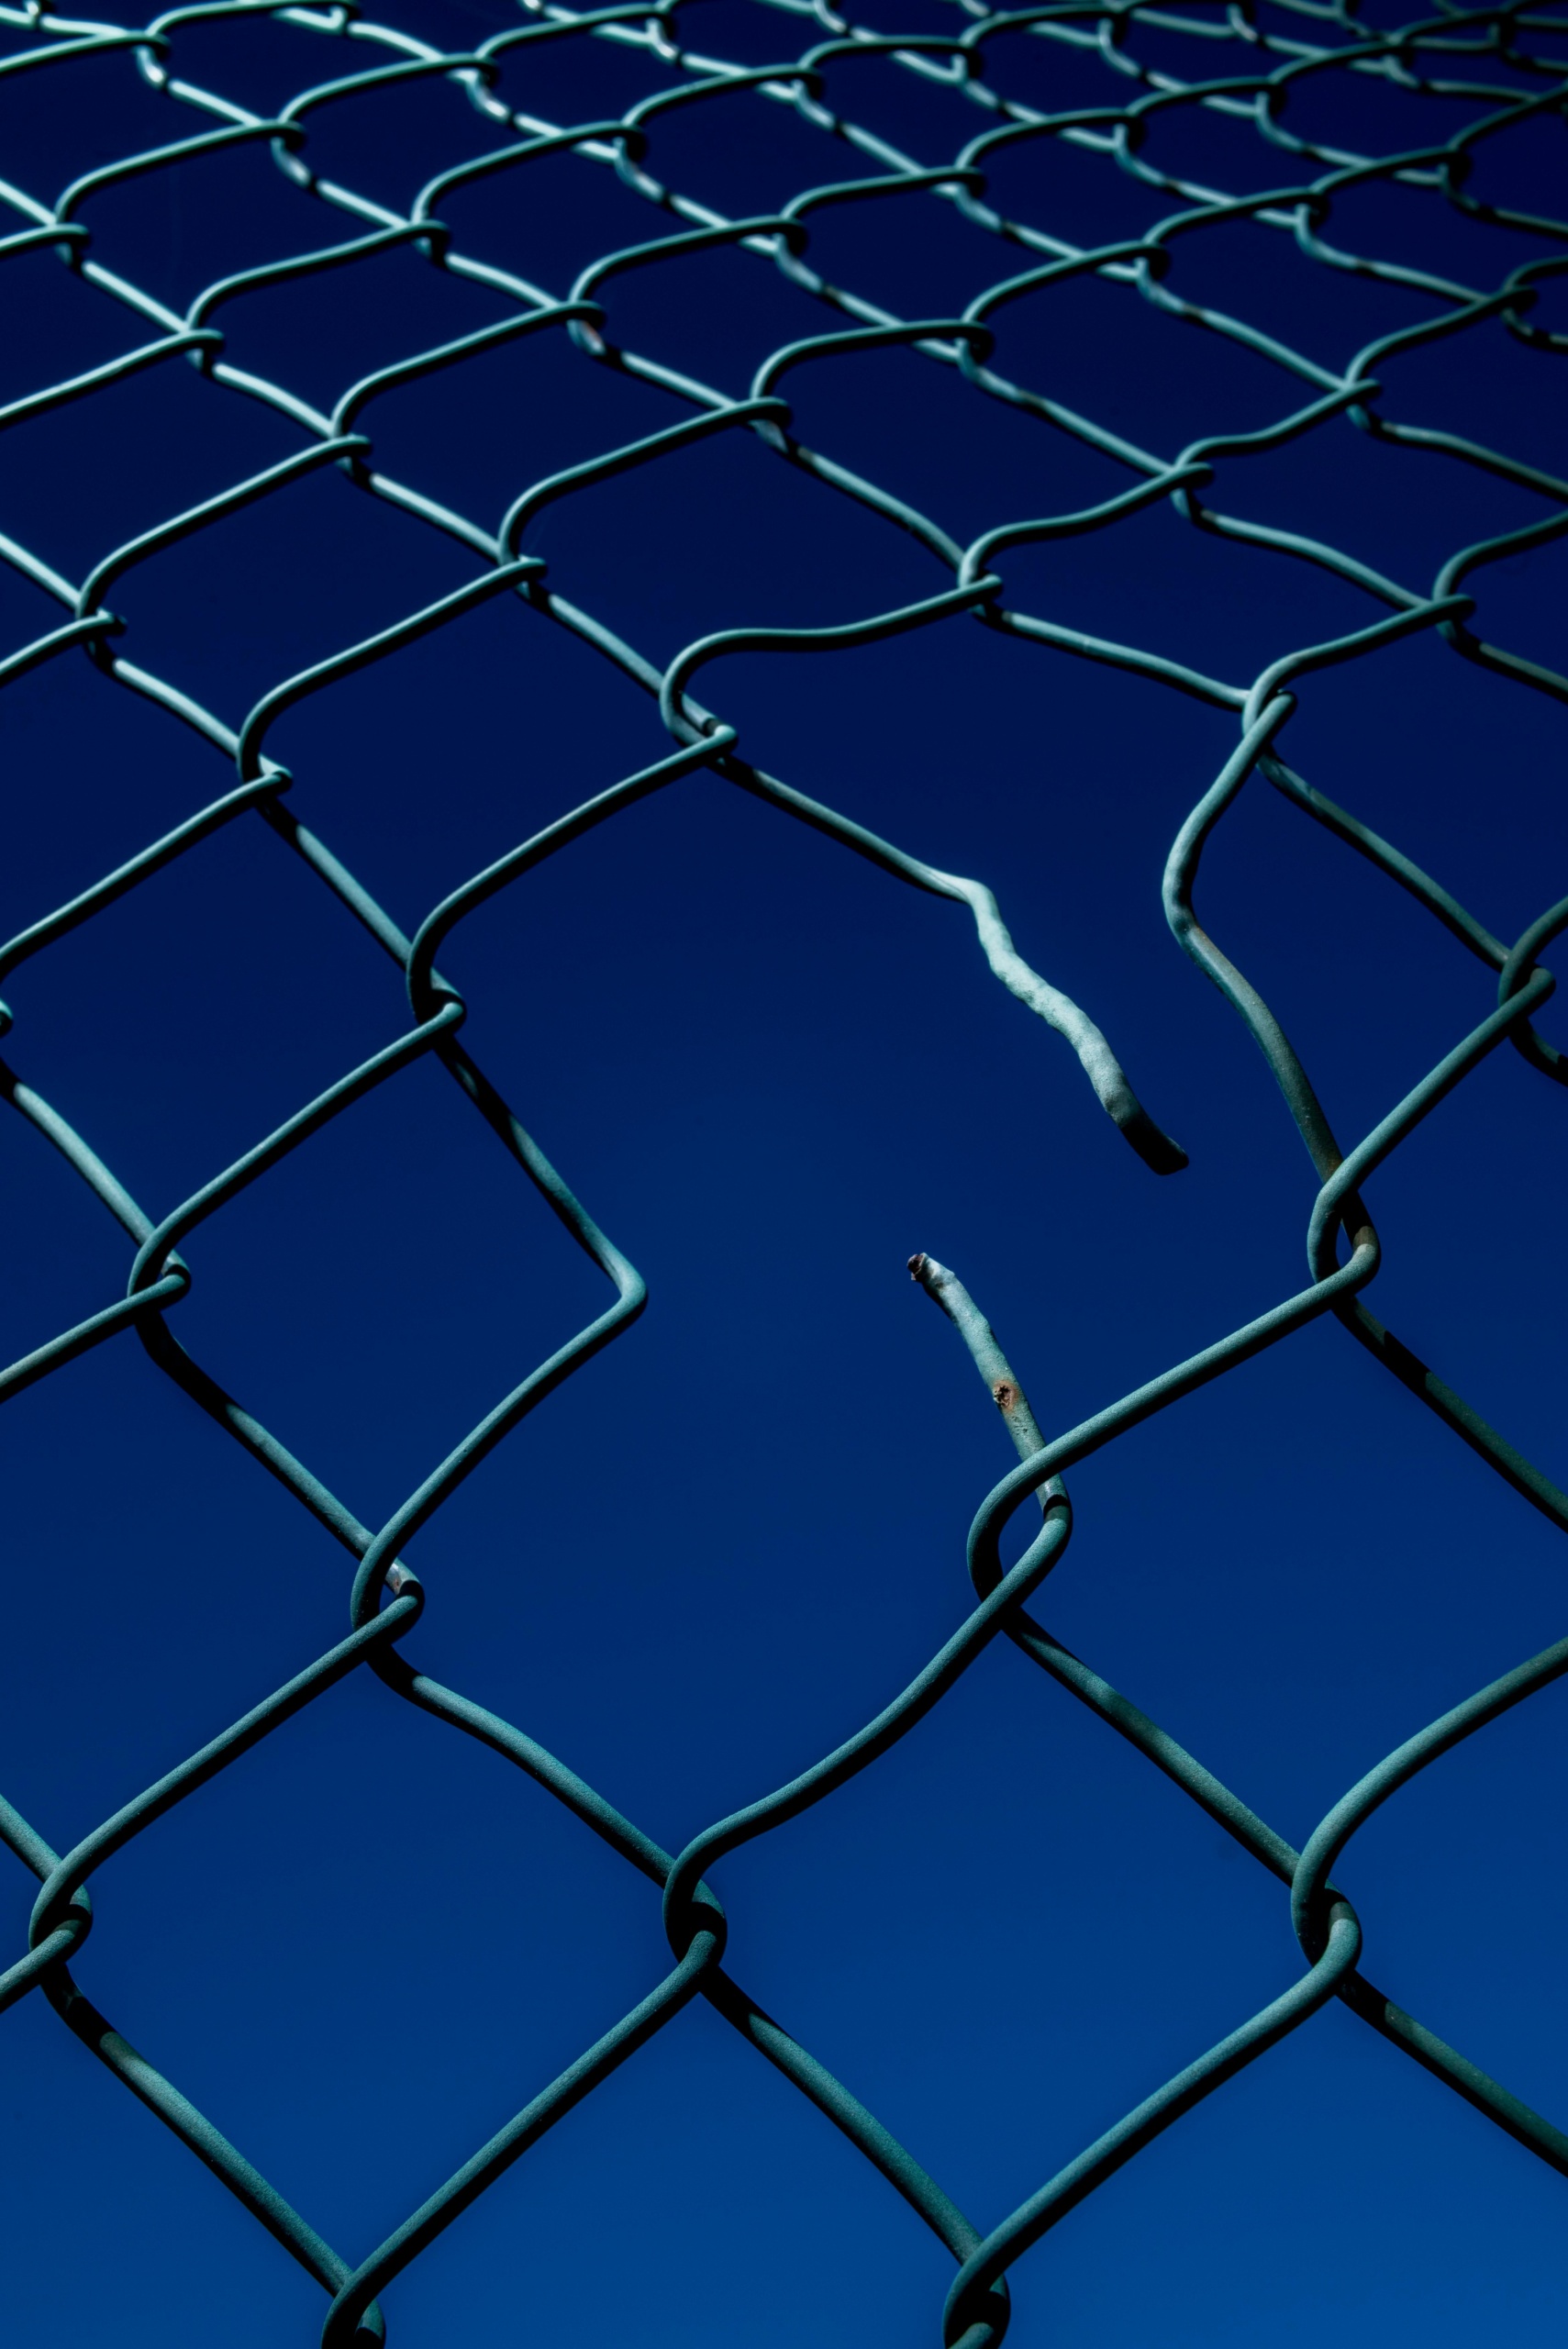
Chain link fences have been around since the late 19th century, originally invented by Charles Barnard in the 1840s. It became popular because it offers a balance between security, visibility, and cost-effectiveness. Unlike wooden fences, chain link doesn’t rot or warp, and unlike solid walls, it allows you to see through it while still keeping your property secure.
Some reasons people love chain link fences:
- Affordable compared to wood or vinyl fences.
- Durable even in harsh weather conditions like New York’s cold winters.
- Easy to maintain with occasional cleaning and rust treatment.
- Quick installation process for DIYers or professionals.
- Provides good security but keeps the yard visible.
Materials You’ll Need for Building Chain Link Fence
Before you start digging holes or unrolling wire, gather all the materials ready. Here’s a basic list of what you will need:
- Chain link fabric (measured in linear feet based on your fence perimeter)
- Line posts (usually steel, spaced every 6-10 feet)
- Terminal posts (corner, gate, and end posts)
- Top rails (run along the top of the posts for stability)
- Tension bands and bars (to secure the fabric to the posts)
- Tie wires or clips (to fasten fabric to the top rail and posts)
- Post caps (to protect posts from water and rust)
- Concrete mix (for securing posts in the ground)
- Gate kit (if you plan to install a gate)
- Tools: post hole digger, come-along tool, pliers, wrench, level, tape measure, wire cutters
Step 1: Planning and Measuring Your Fence
First things first, you need to know exactly where your fence will go. Walk around your property and mark the boundary using spray paint or stakes with string. Measure the total perimeter carefully, because your fabric and posts depend on this.
Keep in mind that chain link fences usually come in heights of 3, 4, 5, or 6 feet. Decide what height you want based on your privacy and security needs. In New York, some neighborhoods or boroughs might have regulations about fence height, so check local codes before buying materials.
Step 2: Setting the Posts
Posts are the backbone of your fence, so they must be installed securely and straight. Start by digging holes for your terminal posts at corners and ends. The depth should be about 1/3 of the post length — for example, a 6-foot post needs a 2-foot deep hole.
After setting the terminal posts in the hole, pour concrete mix into the hole to hold them firmly in place. Use a level to make sure they are vertical. Let concrete cure for at least 24 hours before moving on.
Next, install the line posts between terminals, spacing them evenly (usually 6 to 10 feet apart). Again, dig holes, set posts, and fill with concrete. Make sure all posts are aligned in a straight line using string line or laser level.
Step 3: Attaching the Top Rail
Once posts are set, it’s time to add the top rail which connects the posts and adds strength. Slide the top rail through the holes on the line posts. For terminal posts, use rail ends or elbows to connect the rail securely.
Make sure the top rail is level and firmly attached to posts using rail caps or clamps. This helps fence to withstand wind and other forces without sagging.
Step 4: Installing the Chain Link Fabric
Now comes the fun part — unrolling the chain link fabric! Start at one terminal post, unroll the fabric along the fence line, and make sure it’s tight and straight.
Attach the fabric to the terminal post using tension bands and a tension bar. Insert the bar into the end of the fabric and then secure it to the post with bands and bolts. This keeps the fabric from loosening over time.
Stretch the fabric tight using a come-along tool or fence puller. This step is important because a loose fabric looks bad and won’t last long. After stretching, attach the fabric to each line post with tie wires or clips, spaced about every 12 to 18 inches.
Finally, fasten the fabric to the top rail with tie wires to keep everything secured.
Step 5: Adding the Gate
If your fence needs an entry point, install a gate using a gate kit. Attach the gate frame to the terminal posts with hinges, and
Expert Tips and Tricks to Install Chain Link Fencing Like a Pro in 5 Easy Steps
When you think about securing your property or creating a clear boundary, chain link fencing often comes to mind. It’s durable, cost-effective, and pretty simple to install if you know how. But building chain link fence like a pro? That’s a whole different game. You don’t want your fence to look sloppy or fall apart in a few months. So, here’s some expert tips and tricks to install chain link fencing like a pro in 5 easy steps. Whether you’re a DIY enthusiast or just want to understand the process better, this guide will walk you through how to build chain link fence the right way.
Why Choose Chain Link Fence?
Before diving in, why chain link? This type of fence has been around since the late 1800s, originally used for baseball fields and industrial sites. Its simple diamond pattern made from galvanized steel wires offers great visibility and ventilation, which most privacy fences lack. Plus, it’s one of the most affordable fencing options and requires little maintenance. Compared to wooden fences, chain link won’t rot or warp, and unlike vinyl, it doesn’t crack easily in freezing weather.
Step 1: Planning and Preparing Your Fence Layout
First thing first, you gotta plan your fence layout. Measure the area where you want the fence to go. This step is crucial because messing up measurements means wasted materials and frustration. Mark the corners with stakes and string to visualize the fence line. Check local regulations and property lines to avoid any legal trouble or neighbor disputes. Also, call your local utility companies to mark underground lines—digging blindly is a no-go.
Here’s what you need for this step:
- Measuring tape (at least 100 feet)
- Stakes and string
- Spray paint or chalk for marking
- Utility locating service (call before you dig!)
Step 2: Setting the Posts Like a Pro
The backbone of your fence is the posts. Without straight and sturdy posts, your fence become wobbly and weak. You got two types of posts in chain link fences: terminal posts (corners, ends, and gates) and line posts (in-between posts).
Dig post holes about 8 to 12 inches wide and 24 to 36 inches deep, depending on your fence height and soil condition. Use a post hole digger or auger. Place the posts in the holes and fill with concrete. Make sure the posts are level and aligned with your string line before concrete sets. Don’t rush this part; the strength of your fence depends on it.
Quick checklist for post installation:
- Post hole depth: 2 to 3 feet
- Concrete mix for stability
- Level tool for vertical alignment
- Time to let concrete cure (at least 24 hours)
Step 3: Attaching the Top Rails and Tension Bands
Once your posts are firmly set, you attach the top rails. These horizontal pipes connect all terminal and line posts, giving your fence frame extra strength. Slide the top rails through the loop caps on posts. Make sure rails fit snugly and no gaps exist.
Now, tension bands. These are metal strips that help attach the chain link fabric to terminal posts. Put them evenly spaced on the posts and tighten the bolts firmly. This step makes sure your fence fabric won’t sag or come loose over time.
Don’t forget to gather these materials:
- Top rails (usually same length as fence)
- Loop caps to secure rails on posts
- Tension bands and tension bars
- Wrenches or socket tools for tightening
Step 4: Installing the Chain Link Fabric Correctly
This is where it gets tricky for beginners. Unroll the chain link fabric along the fence line. Start at a terminal post and secure one edge with a tension bar and tension bands. Then stretch the fabric tight toward the next terminal post. Use a come-along tool or fence puller to get it nice and taut, or else your fence will look all uneven and droopy.
Attach the fabric to line posts with fence ties spaced about every 12 to 18 inches. Drive the ties through the fabric and around the posts, twisting them tight. Don’t skip this or your fence might flap when wind blows.
Important points for fabric installation:
- Use galvanized or vinyl-coated fabric for weather resistance
- Stretch fabric tight using specialized tools
- Secure fabric with fence ties on all posts
Step 5: Finishing Touches and Gate Installation
Last but not least, install the gate. Check that your gate frame fits the opening perfectly. Attach hinges to the terminal posts and gate, making sure it swings freely without dragging on the ground. Don’t forget to install a latch or lock to secure your gate properly.
After gates are up, trim any excess fabric with wire cutters. Inspect the entire fence for loose fittings, sharp edges, or gaps. If you want, add privacy slats or screens for more seclusion. Some folks also
What Materials Do You Need to Build a High-Quality Chain Link Fence?
If you ever wondered what materials you need to build a high-quality chain link fence, you’re not alone. Building a chain link fence isn’t just about throwing some metal and wire together; it requires specific materials, right tools, and some know-how to make it sturdy and long-lasting. Maybe you tried putting one up before and it looked kinda wobbly or didn’t last the season. Don’t worry, this article will guide you through how to build chain link fence like a pro, revealing expert tips and must-have materials for the job.
What Is a Chain Link Fence and Why Choose It?
Chain link fences got their start back in the late 1800s and quickly became popular because they offer a balance of security, visibility, and affordability. Unlike wooden or vinyl fences, chain link fences are made from galvanized steel wire woven in a diamond pattern. This creates a strong but see-through barrier. People love them for enclosing yards, playgrounds, commercial properties, and even sports fields because they can handle weather and wear without needing much maintenance.
But not every chain link fence is created equal. To build one that stands up to time, wind, and curious pets, you’ll have to pick the right materials and install them properly.
Essential Materials Needed to Build a Chain Link Fence
Before you start digging or cutting wires, gather these materials. Having everything ready makes the installation smoother and the fence stronger.
Chain Link Fabric: This is the actual wire mesh. Typically, it comes in rolls of galvanized or vinyl-coated steel wire. The gauge (thickness) usually ranges from 6 to 11, where lower number means thicker wire. For high-quality fences, 9 or 11 gauge is preferred because they resist damage better.
Fence Posts: These are the vertical supports, usually made of steel. There are three main types:
- Terminal posts (corner, end, and gate posts)
- Line posts (set between terminal posts)
- Top rails (horizontal pipes connecting the posts)
Terminal posts are heavier and thicker because they hold most of the fence tension.
Post Caps: These fit on top of the posts to prevent water from entering and rusting the metal.
Tension Bands and Bars: These secure the chain link fabric to the terminal posts. The tension bar runs vertically along the fabric’s edge, and tension bands wrap around the post holding the bar firmly.
Tie Wires or Clips: Used to fasten the fabric to the line posts and top rails.
Concrete Mix: To set the posts solidly into the ground for stability.
Gate Hardware: Hinges, latches, and frame parts for the fence gate.
Tools: Post hole digger or auger, pliers, wrench, come-along (for stretching the mesh), and a level.
How To Build Chain Link Fence Like A Pro: Step-by-Step Tips
You might think just hammering posts and unrolling chain link is enough, but there is art and science behind it. Here’s a practical outline to get you started.
Planning and Measuring
Measure your fence line carefully, marking where each post will go. Standard spacing between line posts is 6 to 10 feet, depending on fence height and soil conditions. It’s smart to check local zoning laws or homeowner association rules before you begin.Setting the Posts
Dig holes for terminal posts about 10-12 inches wide and 2-3 feet deep. Pour concrete around the posts, making sure they are plumb (straight up and down). Let the concrete cure for at least 24 hours before continuing.Installing Line Posts and Top Rail
After terminal posts set, install line posts in holes spaced evenly. Again, use concrete for stability. Slide on post caps, then attach top rails connecting all the posts horizontally. This adds strength and a finished look.Attaching Chain Link Fabric
Unroll the chain link fabric next to the fence line. Hook one edge to the tension bar, then secure the bar to the terminal post using tension bands and bolts. Using a come-along tool, stretch the fabric tightly towards the other terminal post to prevent sagging.Securing Fabric to Posts and Rails
Use tie wires or clips to fasten the fabric to the line posts and top rail, spacing them evenly for a secure fit. Make sure the fabric is taut and flat without wrinkles or slack.Gate Installation
Finally, install gate posts, attach the gate frame, and mount hinges and latches. Check the gate swings smoothly and locks securely.
Comparing Chain Link Fence Materials: Galvanized vs Vinyl-Coated
Choosing between galvanized and vinyl-coated chain link fabric depends on your needs and
How to Avoid Common Mistakes When Building Chain Link Fences: Insider Advice
Building a chain link fence might looks simple at first, but there are many common mistakes that people often make which can cause frustration and poor results. Whether you’re new to fencing or you’ve tried a few times before, knowing what to avoid and how to do it right will save you time, money, and headache. Chain link fences are popular because they’re durable, cost-effective, and provide security, but if not done properly, the fence might sag, rust, or even come down prematurely. So, let’s dive into how to build chain link fence like a pro, with some insider advice and expert tips revealed.
Why Chain Link Fences Became So Popular
Chain link fences came along in the late 19th century, invented by Charles Barnard in the 1840s and later mass-produced in the early 1900s. Their popularity grew fast because of their affordability and ease of installation compared to wooden or wrought iron fences. The diamond-shaped mesh provides visibility and airflow while keeping areas secure. Today, they’re used in residential yards, commercial properties, and even sports fields. Knowing the history helps us appreciate why this fencing option stays relevant and how to optimize installation techniques.
Common Mistakes When Building Chain Link Fences
Before jumping into how to build chain link fence, it’s important to recognize what not to do. Here are some common mistakes people make:
- Improper planning and measuring: Many people don’t take accurate measurements or fail to check property lines, which leads to fences being built off-boundary.
- Poor post setting: Posts not set deep or secure enough will cause the fence to lean or wobble.
- Using wrong tools or materials: Cheap or incompatible parts can reduce fence life.
- Skipping tensioning steps: Without proper tension, the chain link fabric will sag.
- Ignoring local codes and permits: This can result in fines or having to remove the fence.
- Not prepping the ground: Uneven or rocky terrain without preparation leads to uneven fence height.
How To Build Chain Link Fence Like A Pro: Step-by-Step Guide
Follow this simplified outline to avoid common pitfalls:
Plan and Prepare
- Measure your fence line carefully with a tape measure.
- Mark corners and gate locations with stakes.
- Check local zoning laws and get required permits.
- Call 811 to locate underground utilities before digging.
Gather Materials and Tools
- Fence posts (terminal and line posts)
- Chain link fabric (typically galvanized steel)
- Tension bars and bands
- Tie wires or hog rings
- Concrete mix for setting posts
- Tools: post hole digger, pliers, wrench, level, tensioning tool
Install Posts
- Dig holes about 24 inches deep for line posts and 30 inches for corner/gate posts.
- Place posts in holes, pour concrete, and make sure they’re plumb using a level.
- Allow concrete to cure for at least 24 hours.
Attach Top Rail and Tension Bands
- Connect corner posts with top rails, securing them with tension bands.
- Install tension bars along the fence line to help keep fabric tight.
Unroll and Attach Chain Link Fabric
- Roll out the fabric along the fence line.
- Hook the fabric onto the tension bar at one end.
- Use a come-along or fence puller to stretch the fabric tight before attaching to posts with tie wires or hog rings.
Finish with Gates and Accessories
- Install gates with proper hinges and latches.
- Check the entire fence for loose wires or parts.
Tips to Avoid Mistakes That Can Cost You
- Always double-check measurements before digging; a small mistake can cause big problems.
- Don’t rush setting posts; concrete needs time to harden or else posts will shift.
- Use quality materials even if they cost more upfront; cheap steel rusts quickly.
- Make sure fabric tension is firm to prevent sagging later.
- Consider hiring a helper for stretching fabric—it’s hard work alone.
- Regularly inspect your fence post-installation to catch any lean early.
Simple Comparison: DIY vs Professional Installation
| Aspect | DIY Chain Link Fence | Professional Installation |
|---|---|---|
| Cost | Lower upfront cost but potential mistakes | Higher initial cost but less errors |
| Time | Longer due to inexperience and manual labor | Faster with specialized tools and team |
| Quality | Depends on your skill and tools | Generally higher and guaranteed |
| Permit Handling | You must do all paperwork | Professionals handle permits and codes |
| Long-term Durability | Varies; mistakes can reduce lifespan | Usually more durable with correct setup |
Cost-Effective Chain Link Fence Installation: Save Money Without Sacrificing Quality
Chain link fences have been a popular choice for both residential and commercial properties for many decades now. They provide security, durability, and visibility at a costs that most people can afford. But many homeowners and business owners often ask, “How can I save money on chain link fence installation without compromising the quality?” or “Is it possible to build a chain link fence like a pro without hiring expensive contractors?” This article will explore cost-effective chain link fence installation methods and reveal expert tips on how to build chain link fence properly, even if you’re not a professional.
Why Choose Chain Link Fences?
Chain link fences were invented in the late 19th century, originally made by textile workers in England. Over time, it become one of the most affordable fencing options worldwide. Its simple design, made from galvanized steel wire, ensures resistance to rust and weather damage. Unlike wooden fences or vinyl fences, chain link fences require less maintenance and last longer when installed correctly.
Some reasons you might want chain link fence:
- Budget-friendly compared to wood or vinyl
- Quick installation process
- Long-lasting with minimal maintenance
- Provides clear visibility for security purposes
- Easy to customize height and length
Cost-Effective Chain Link Fence Installation Tips
Many people think the only way to get a good fence is to hire expensive professionals. But you don’t always need to spend a fortune to get quality installation. Here’s some tips that help you save money:
Do It Yourself (DIY) or Partial DIY
Doing the fence installation yourself saves labor cost. If you have basic tools and some experience with construction, you can handle posts setting and chain link attaching. Or you can hire pros just for the tricky parts.Buy Materials in Bulk or Off-Season
Fence materials like galvanized steel wire and fence posts can be costly if bought individually. Buy in bulk from local suppliers or during off-season sales to get discounts.Use Standard Sizes and Materials
Custom sizes and fancy coatings increase cost. Stick with standard 4-foot to 6-foot heights and galvanized steel, which balances cost and durability well.Plan Fence Layout Carefully
Measure your property accurately before purchasing materials. Avoid overbuying or underbuying by planning fence layout, gate placement, and post spacing precisely.Rent Tools Instead of Buying
Fence installation needs equipment like post hole diggers, tension bars, and come-alongs. Renting these tools instead of buying them can save you money, especially if this is a one-time project.
How To Build Chain Link Fence Like A Pro: Expert Tips Revealed
Building a chain link fence might sound simple—just stretch wire and secure it, right? Not quite. Professionals follow specific steps to ensure fence durability, tension, and appearance. Here are some expert tips you should know:
Post Spacing Is Key
Fence posts usually spaced 6 to 10 feet apart, depending on fence height and terrain. Closer post spacing creates stronger fence but costs more.Use Concrete For Posts
Setting posts in concrete anchors them firmly. Without concrete, posts may shift or lean over time from wind or impact.Start With Corner Posts
Corner posts take most tension from the chain link fabric. Set these posts first, and use braces or tension wires connected to them.Stretch The Fabric Tightly
Use a come-along tool or fence puller to stretch the chain link fabric as tight as possible. Loose fabric sags quickly and looks bad.Secure Fabric With Proper Fasteners
Use tension bands, tie wires, and fence ties designed for chain link installation. Cheap alternatives may fail early.Install Gates With Care
Gates are weak points in fences. Ensure gate posts are extra strong and hinges properly installed to prevent sagging.Wear Protective Gear
Chain link wire ends can be sharp; gloves and eye protection help prevent injuries during installation.
Comparison Table: DIY vs Professional Installation
| Aspect | DIY Installation | Professional Installation |
|---|---|---|
| Cost | Lower (labor saved) | Higher (labor included) |
| Time | Longer, depends on your skill | Faster, experienced crew |
| Quality | Variable, depends on DIY skill | Usually high quality, guaranteed |
| Tool Availability | May need to rent or buy tools | Tools and equipment provided |
| Risk of Mistakes | Higher if inexperienced | Lower with trained installers |
| Warranty | Usually none | Often included with installation |
Practical Example: Building a 50-Foot Chain Link Fence by Yourself
Suppose you want to build a 50-foot, 4-foot tall chain link fence around your backyard. Here’s an outline of
Conclusion
Building a chain link fence is a practical and cost-effective way to secure your property while maintaining visibility and durability. By carefully planning your layout, gathering the necessary materials, and following step-by-step installation procedures—such as setting posts firmly in concrete, attaching the top rail, and stretching the chain link fabric tightly—you can achieve a professional-looking fence that stands the test of time. Attention to detail during each phase ensures stability and longevity, while regular maintenance keeps the fence in optimal condition. Whether you’re enclosing a backyard, creating a pet area, or enhancing security, mastering the basics of chain link fence construction empowers you to take control of your outdoor space. Ready to start your project? Gather your tools, follow the guidelines, and transform your property with a sturdy, reliable chain link fence today.


